

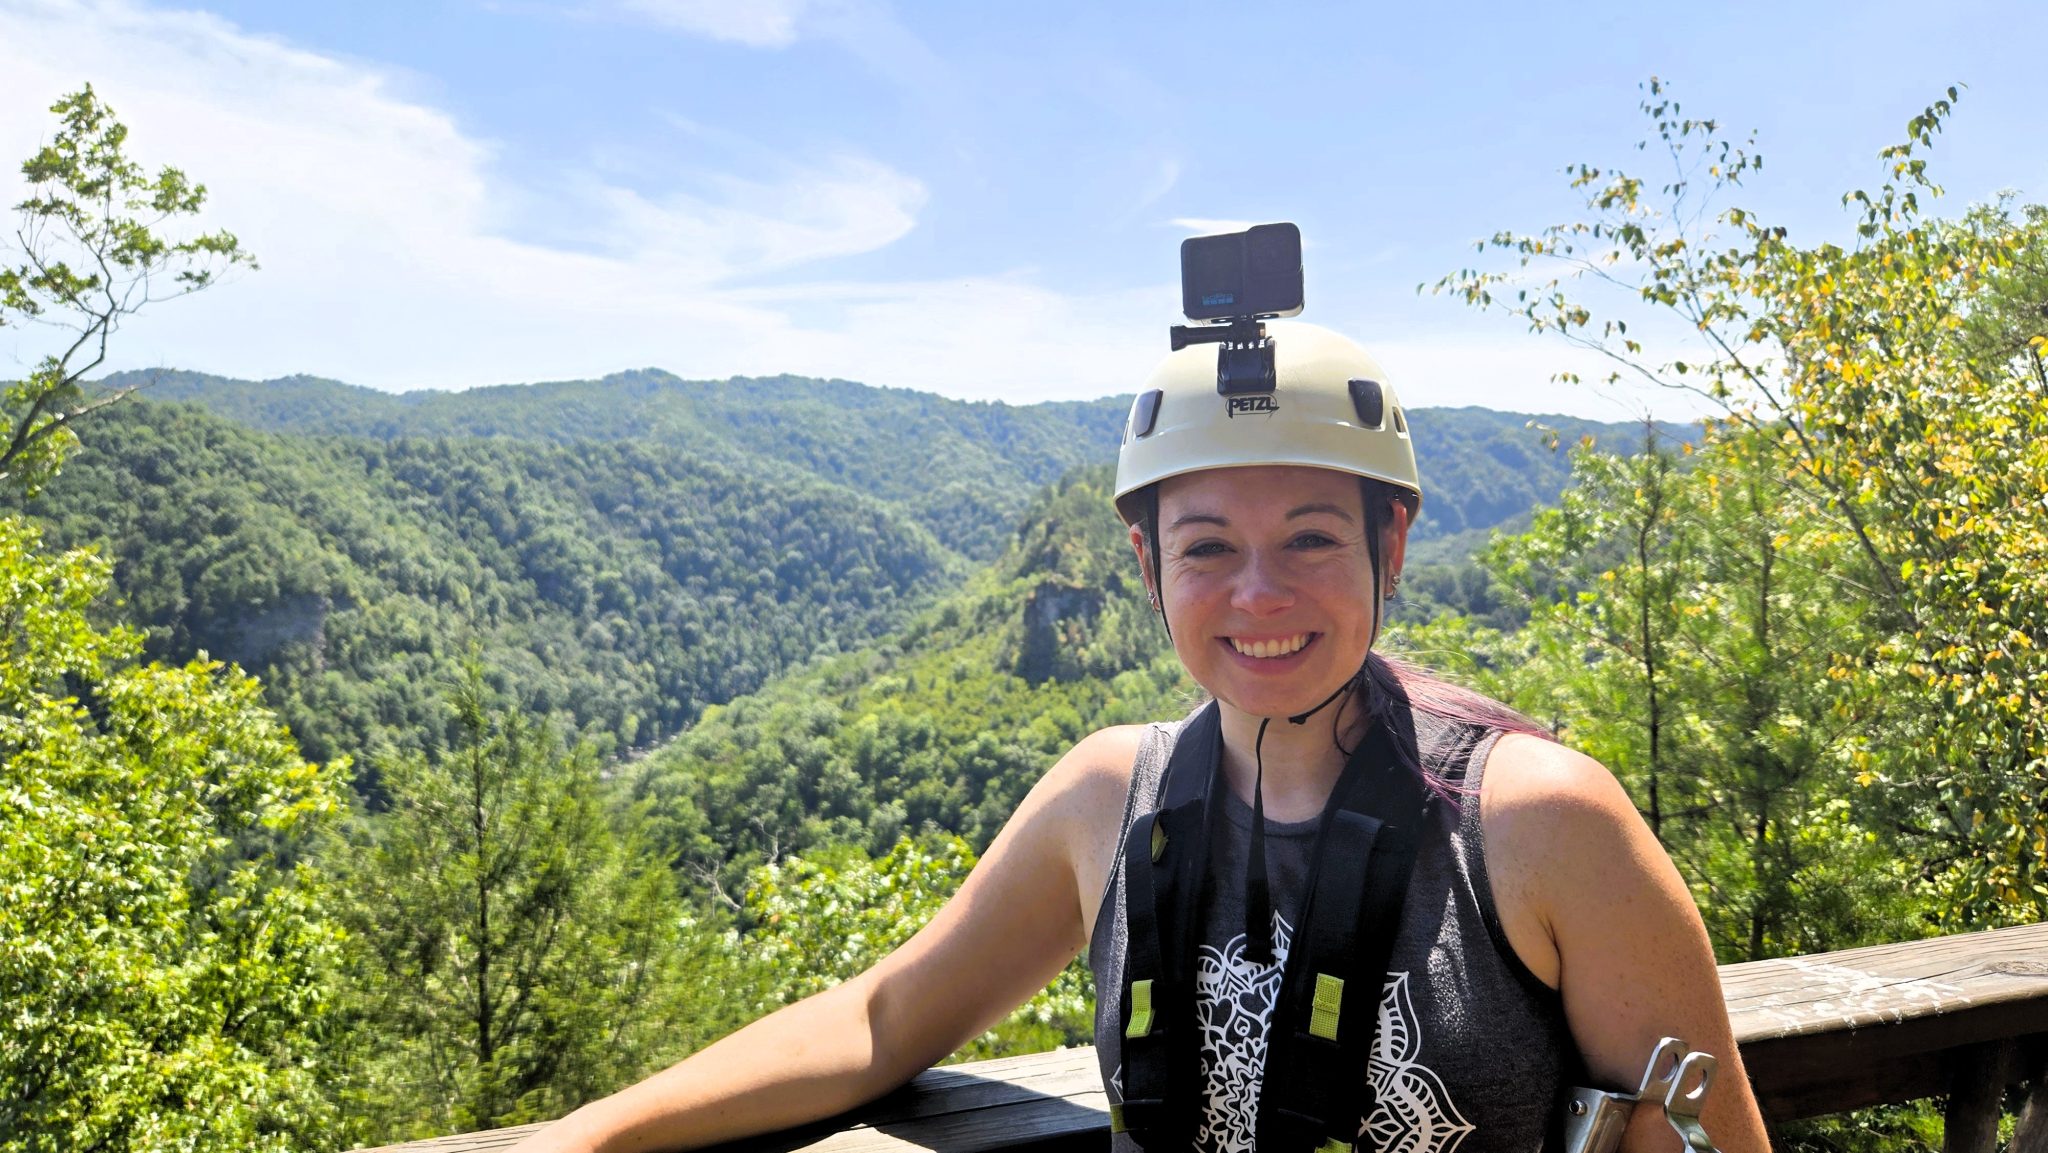
A few weeks ago, I had the privilege of exploring the last little bit of Virginia left on my bucket list: the southwest corner that borders West Virginia, Kentucky, and Tennessee. “Why?” you might ask. To explore a hidden gem that’s been on my radar for years: Breaks Interstate Park.
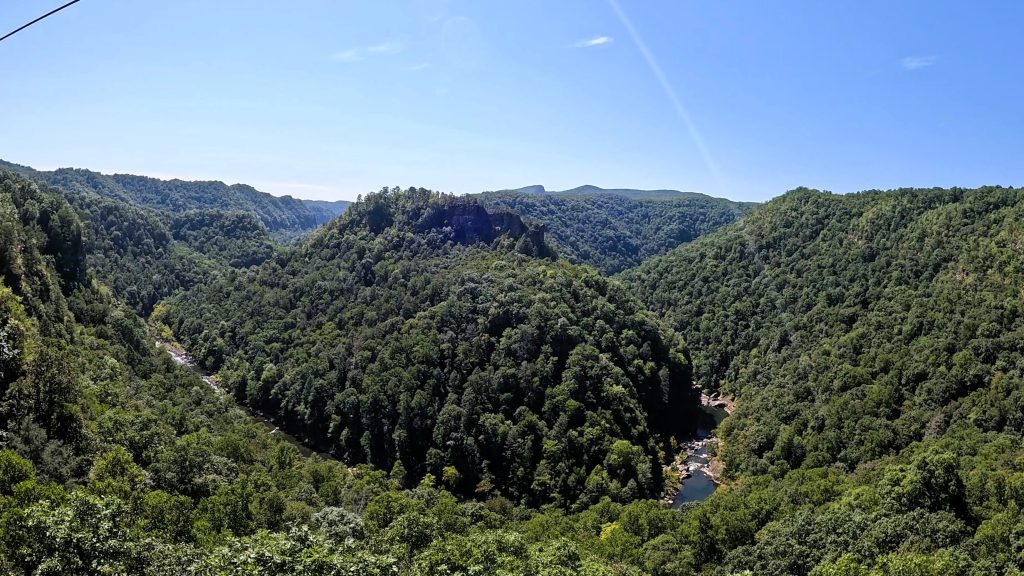
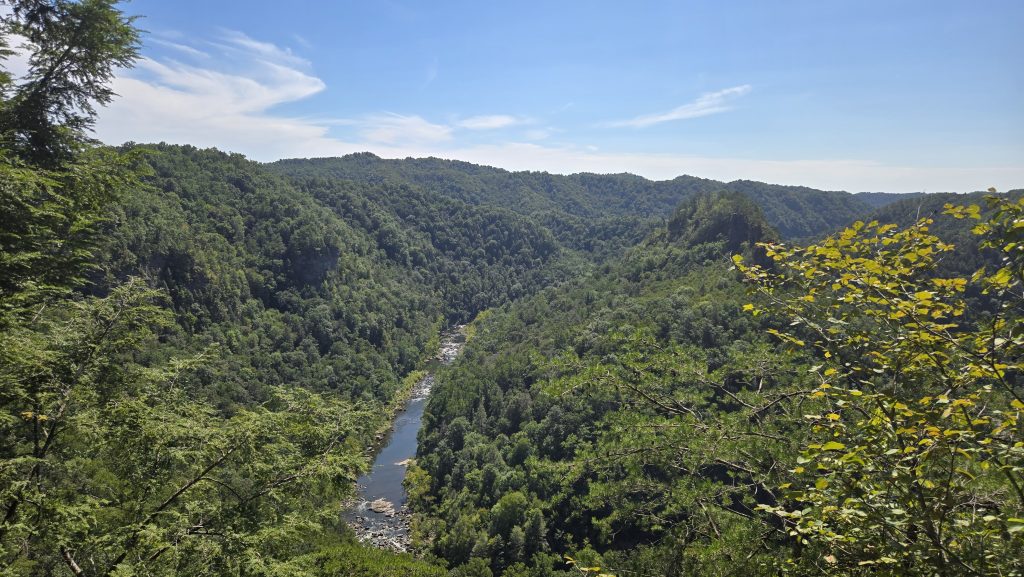
If you haven’t heard of it, Breaks Interstate Park sits squarely on the Virginia and Kentucky border, with park trails in both states. More impressively, it’s home to “the Grand Canyon of the South,” which has a drop of over 1,000 feet. But unlike the actual Grand Canyon, this area is lush and vibrant, with a packed forest framing either side of the Russel Fork River.
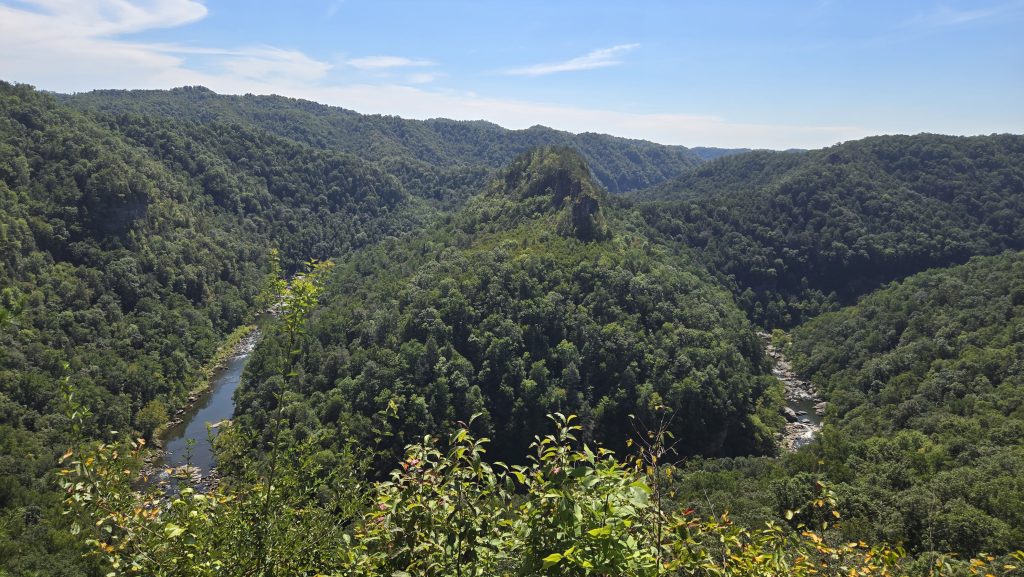
You can see this beautiful gorge in a few great ways, including the Towers and Lover Leap Overlooks. But for the most spectacular views, book an excursion for the Canyon Rim Zipline.
Now, I am a zipline enthusiast, and it’s definitely one of my favorite things to do whenever I visit somewhere new. I love the thrill of flying over the landscape with a bird’s-eye view. So when I heard about the Breaks Interstate Park zipline tours, I knew I needed to book it. (Spoiler: these were the best zipline views I’ve seen in the continental US.)
After experiencing it for myself, I’m here to tell you what to expect, what to know, and whether it’s for you. Deal? Let’s dive in.
What Is the Canyon Rim Zipline?
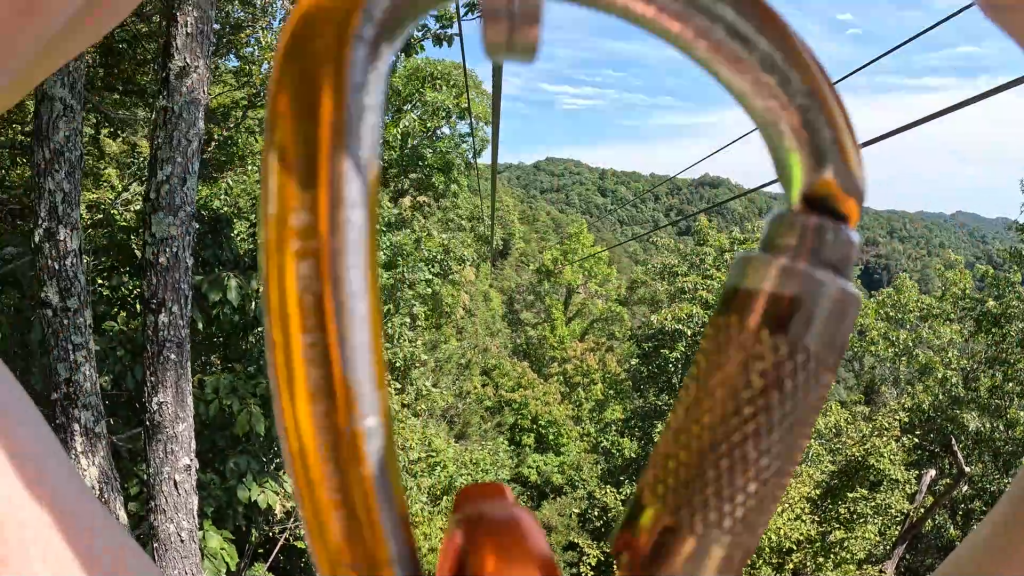
The Canyon Rim Zipline is an incredible tour in Breaks, Virginia, that you can experience at Breaks Interstate Park. It’s an awesome way to take in the mountain views from even higher than usual.
There are a total of 3 lines that will take you soaring right over Breaks Canyon. You’ll fly a little over 2,000 feet in total, with each line giving you a different view of the mountains, the canyon, and the river cutting through. It is gorgeous in summer, but I can only imagine what it looks like even now with fall colors setting in.
The tour takes you to several towers along the way (including one with a ladder that requires you to climb to the second level), through beautiful woodlands, and even to the Towers Overlook. It’s not hard, but be prepared for some climbing, uneven terrain, and breathtaking views.
You can book online or in person, but I recommend buying tickets in advance in case they sell out.
My Canyon Rim Zipline Experience
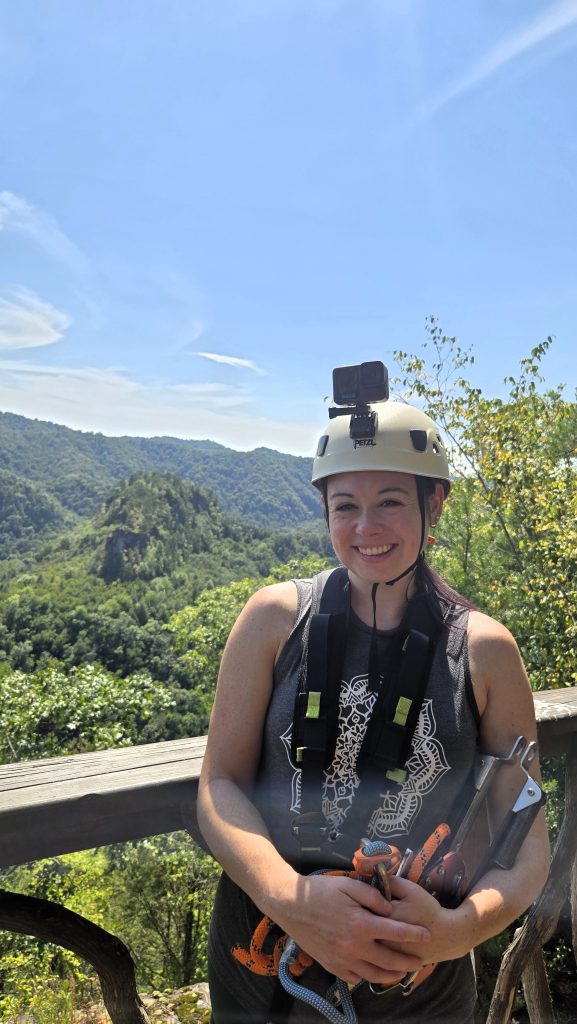
I arrived at Breaks Interstate Park on a beautiful late-summer afternoon. A storm had hit earlier in the day, but the clouds had cleared, leaving a beautiful blue sky for my adventure.
Arriving & Checking In
The Canyon Rim Zipline tour is located just inside the park entrance, so it was pretty easy to miss. The tour office is actually down behind the main lodging area, so you’ll need to park at the hotel, then walk down to the little office. I got turned around, but the rangers were so nice and gave great directions.
Once I found the office, I signed a waiver (I’d already signed one online, but they said they needed a hard copy), took a bathroom break, and waited for the second guide to arrive. During that time, the other guide made sure my GoPro was securely locked into a helmet so I could capture footage along the way.
I was pleasantly surprised to learn our group had only six people total, and they cap it at 8. While this does limit availability, it keeps things moving and ensures the guides can pay close attention to every guest.
I also appreciated that they had a lockbox to hold wallets, keys, and phones during the tour because those are never fun to lose!
Getting Geared Up
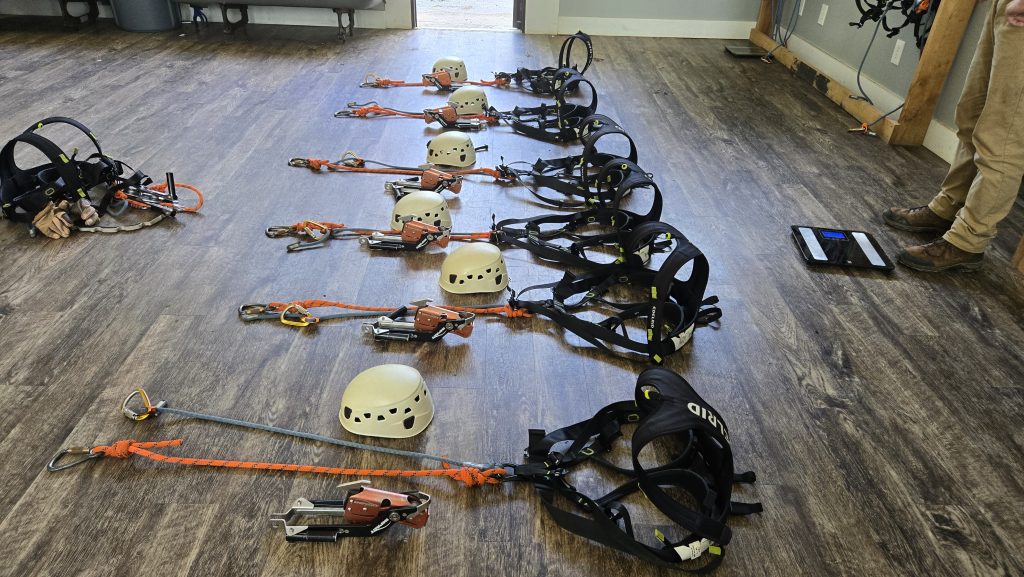
The guides (Aiden and Mark) already had everyone’s gear laid out, which definitely streamlined the process. When it was time to start the tour, they had us line up in front of our gear and showed us how to put on the harness and helmet, step by step. I’ve never done a zipline tour where I put on my own gear, but I enjoyed learning how to do it properly myself. And it kept things moving, which I’m always a fan of.
After Aiden and Mark double-checked that everyone was properly secured, they instructed us to pick up the extra tethers from our harnesses and follow them into the woods to officially start the tour.
Soaring over Breaks Canyon
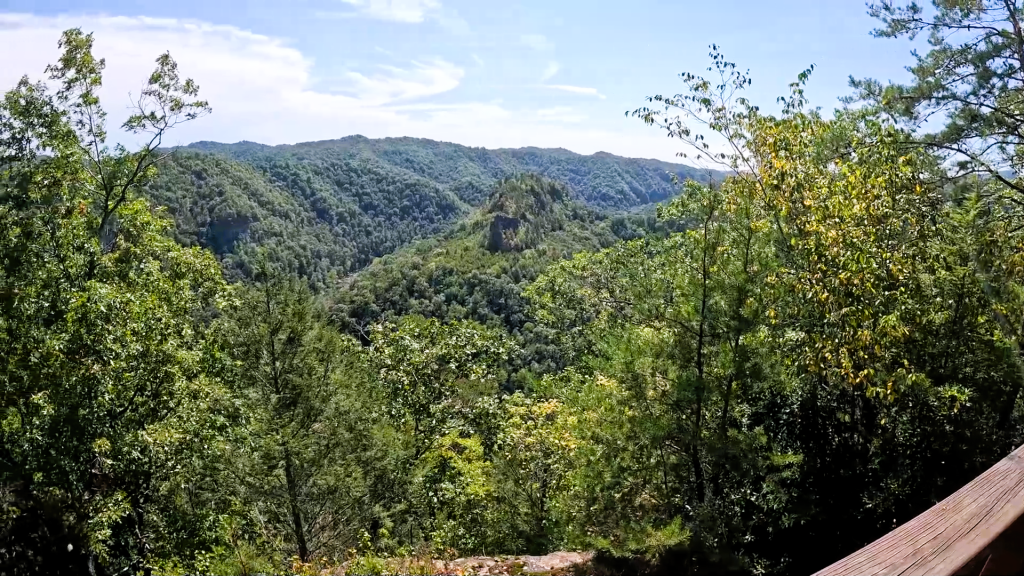
The first zipline was just a couple of minutes’ walk through the woods, but I was surprised at just how quickly the drop-off came up! The platform had an incredible view of the canyon and river, and I opted to go last so I could take it all in. But that view was nothing compared to actually soaring over it!
The zipline went right along the edge of the canyon. From there, I could see the iconic “Towers” jutting into the sky and the ribbon of the Russel Fork River cutting through the greenery lining the canyon.
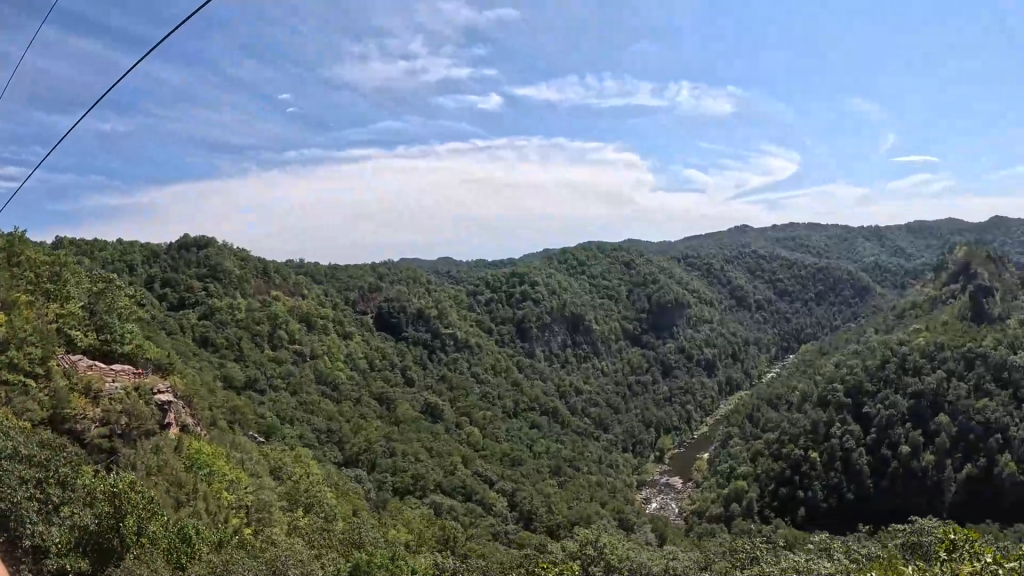
But that was the least impressive zipline!
After we reached the second zipline tower, we trekked through the woods to the Tower Overlook, where we stopped for a quick photo op and a chance to take in the scenery. It was spectacular, and I could see more clearly from there how the river split around a towering island and how far the mountains spread out in the distance.
The second zipline was the shortest (about 25 seconds), but the views were top-notch, giving me yet another angle of that beautiful canyon. It honestly looks like a big green bowl, with a big dollop of something in the middle — but in a pretty way, haha.
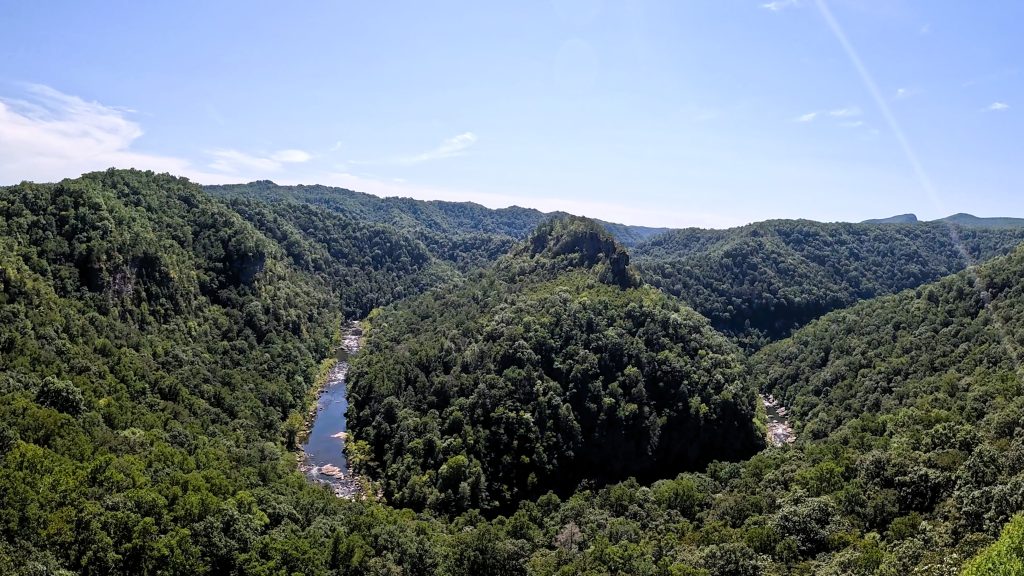
This zipline ended at a two-story platform, and once everyone had arrived, we each had to climb up to the second story for the final zipline. If I remember correctly, this one is the longest and lasted close to 40 seconds. It also had my favorite view. I felt like this one gave me the best head-on view into that valley, where I could really see the full fork of the river and how dramatically the canyon swoops up on either side.
Once the last person zipped in, we walked up the path to the road, where a van was waiting to take us back to the office, which was very convenient.
What You Should Know Before You Go
How long does the Canyon Rim Zipline take?
The official tour site says to plan for about 2 hours, but mine only took about an hour. Even with someone who needed extra help, the guides kept us moving, and everything went smoothly. Obviously, a full group of 8 will take a bit longer, but it only took about 12–15 minutes to get everyone through each line.
What should I wear ziplining?
I always recommend athletic pants or long shorts for ziplining because harnesses can rub and pinch after a while, especially on bare legs. You’ll also need secure, closed-toed shoes—never flip-flops or Crocs. Since this tour includes walking between the towers, I’d recommend sneakers or actual hiking shoes. Other than that, dress according to the weather. You may need a rain jacket, a warm top (think about wind chill), or just a tank top. Hats are a no since you’ll be wearing a helmet.
What should I bring for this zipline tour?
Anything you bring is at risk of falling out of your pockets. I recommend leaving valuables at the office unless you have zippered pockets or a secure pouch. If you have an action camera, definitely bring it to capture the views from above! You may also want sunglasses, bug spray (use it, then leave it in your car), and important medications like an EpiPen that would be vital in an emergency.
Are there any restrictions for this tour?
Most of this tour is pretty easy, but you will need to climb a ladder, walk on uneven terrain, and hold yourself upright while ziplining. Guests must be at least 4 years old and weigh between 75 and 250 lbs. Other restrictions include recent surgery, pregnancy, and heart and back conditions. Check their website for all requirements and restrictions before booking.
Is the Canyon Rim Zipline available all year? And what does it cost?
The zipline is available spring through fall. When I went, tours ran Friday–Sunday at 11 a.m., 2 p.m., and 5 p.m. It currently costs $53 per person. If you’re reading this in September 2026, weekend tours run through November 1, so you can catch that gorgeous foliage!
Is the Canyon Rim Zipline Worth It?
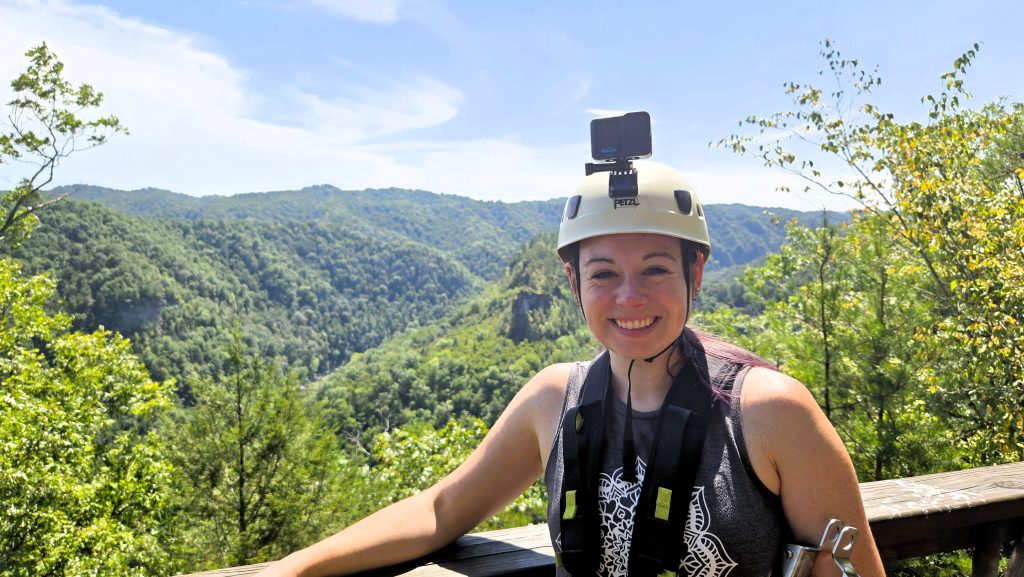
Short answer: yes. For $53, I do wish the tour had lasted a little longer, even if it was just more time to take in the views at the overlook and towers. However, the views were spectacular, the guides were great, and I’d much prefer a short tour over one that lasted way too long because the group was huge.
I think this would be a great activity for any friend group, family, or couple who want a bit of thrill paired with panoramic views. My group had all three, and two were return visitors who wanted to share the experience, so I think that speaks for itself.
Final Thoughts
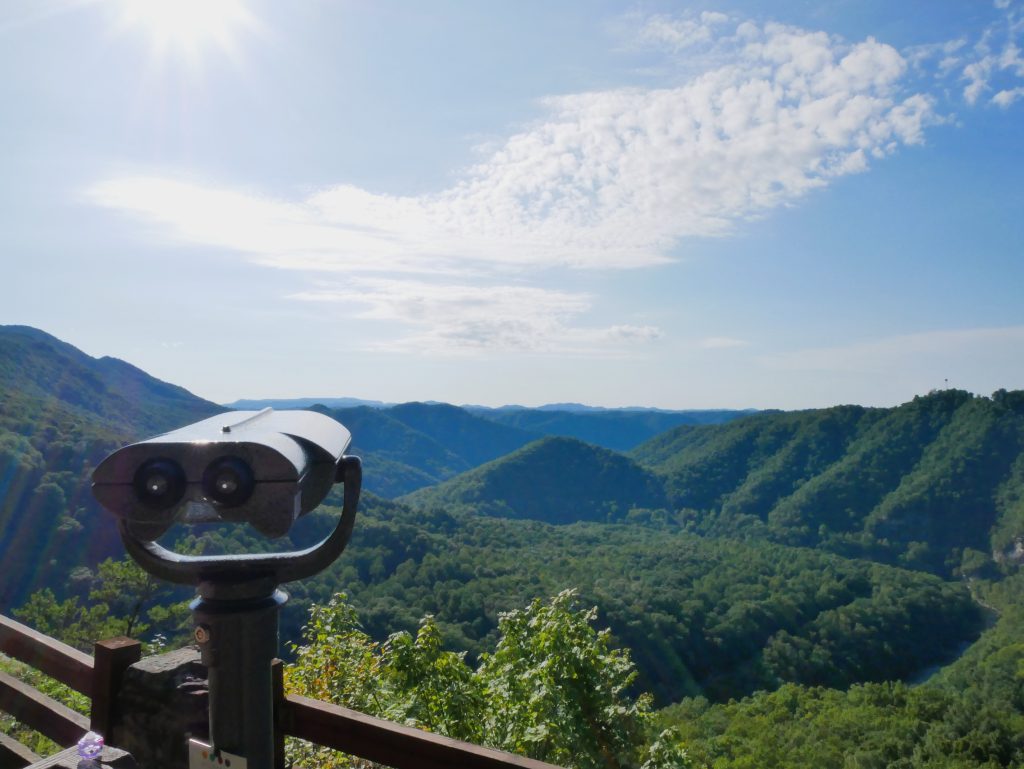
If you’re looking for a unique, approachable adventure in Virginia, you’ll definitely need to add the Canyon Rim Zipline at Breaks Interstate Park to your list. And while you’re there, be sure to explore all the other fun things the park has to offer, from non-motorized boats on Laurel Lake to beautiful hikes. This area is also a hot spot for off-roading, elk watching, and scenic drives. I’ll have a guide on several of those things soon, so be sure to stay tuned and subscribe if you’re not already.
Thanks for stopping by, and until next time, I wish you many happy travels!


